All I Want for Christmas is a Portrait Lens…
The Trouble with Indoor Shots
Many of our family moments happen inside, which makes for a lighting challenge. Typically I set the camera to “auto” and let the flash do its work. Unfortunately, I’m seeing a lot of “washed-out” faces and shadows behind the ears. So I’m trying to turn off the flash and use available light indoors.
For proper exposure indoors, I can: 1) use a slower shutter speed, which creates blurry faces; 2) use a higher ISO, which creates graininess; or 3) use a wider aperture… which costs money! My “kit” lens (the one that came with the camera) usually doesn’t allow me to select an aperture wider than f/5.0. Indoors, the camera compensates mostly by choosing a slow shutter speed – not good for crisp shots of children.
Compensating with ISO
A couple months ago I bought Scott Kelby’s “The Digital Photography Book.” My Barnes & Noble copy came with a bonus instructional CD. In it, Kelby recommends boosting the ISO in situations where the camera wants to choose a shutter speed slower than 1/60.
Grainy is better than blurry, per Kelby.
So, Sunday night I experimented with shooting indoors at a higher ISO. I set the camera to aperture priority mode (Av on Canon’s big dial; select aperture by rotating the small vertical dial behind the shutter release button). I boosted the ISO to 800 (Canon’s ISO menu can be accessed with the up arrow).
I got ONE shot that evening that I like! But even with an aperture of f/5.6 and a “grainy” ISO of 800, the camera chose a too-slow shutter speed of 1/30. I was lucky my daughter & the camera both stayed relatively still for this one:
Since then, I’ve been perusing camera web sites, poring over reviews of wide-aperture lenses that “create” light where it hardly exists. Unfortunately, those magical lenses exceed the family Christmas budget just a wee bit…
Windows to Illuminate Indoor Shots
In her book “Photographing Children,” Ginny Felch recommends using windows for indoor portraits, letting the light wrap softly around one side of the face. Adding a white reflector (like a sheet) opposite the window can help fill in shadows on the other side of the face.
Monday I experimented with different setups in front of our French door.
Unfortunately… I didn’t notice until partway through that I hadn’t reset the ISO from Sunday night’s shots. Many of Monday’s shots were also at the “grainy” ISO of 800. That’s ok – I can make lemonade from lemons (aka post-process in Photoshop).
Also, the light from the south-facing door was too direct and harsh (not to mention that the mullions created funny shadows). That mistake was easy to fix with a different setup.
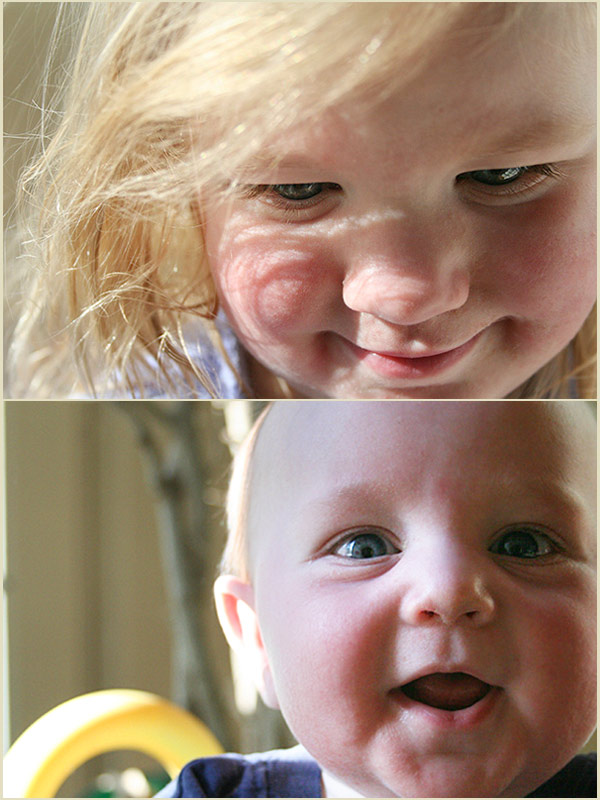
Below are my “harsh light” shots, with some edits to soften the light. (Top photo: f/5.0, very fast shutter speed of 1/3200, ISO 800. Bottom photo: f/5.0, shutter speed 1/500, ISO 800.)
For the next several shots, I added a light cream tablecloth over the door to diffuse the light, plus a lamp to provide a little light from another direction – very DIY.
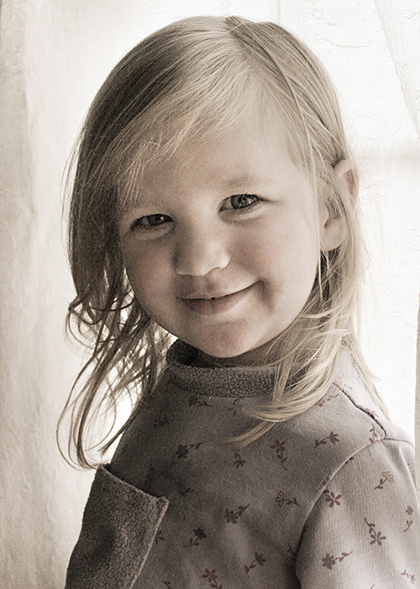
The following picture is much more evenly lit – no odd shadows or overexposed ears. I had corrected the ISO to 200 by the time I took this photo. Aperture f/5.0, normal shutter speed of 1/250:
Against the Grain
Felch includes some examples, in her book, of photos taken intentionally at higher ISOs, to get an extra soft, grainy look. So, as on her front cover, I converted the photos to black and white (or added some sepia)
In the rest of the photos, notice that the higher the ISO, the faster the shutter speed, to avoid overexposure. For these shots, there really is no need to have a high ISO as long as the camera is choosing a shutter speed well above 1/60.
Unless, of course, you actually wanted the grainy look… like I obviously did. 😉
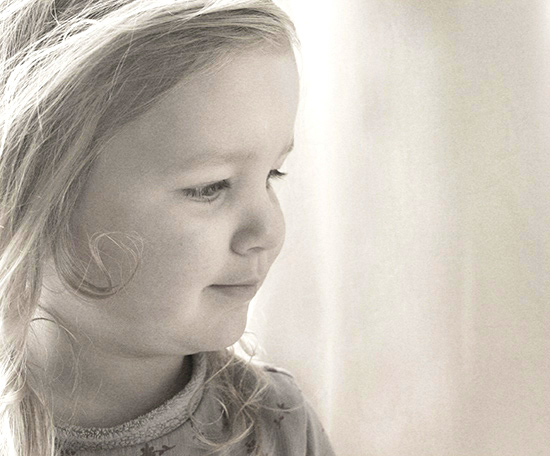
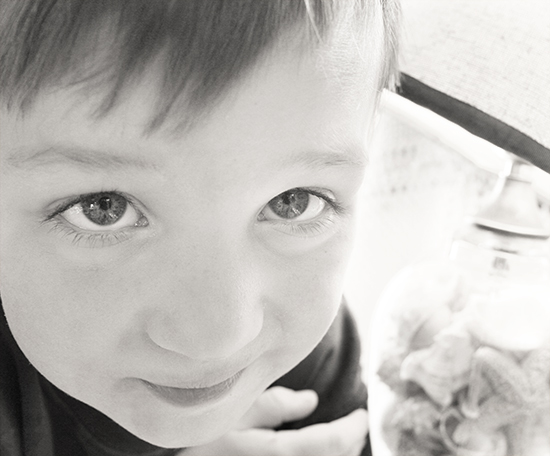
ISO 800, f/5.0, shutter speed 1/800:
ISO 800, f/5.0, shutter speed 1/500:
ISO 400, f/5.6, shutter speed 1/125:
ISO 200, f/5.0, shutter speed 1/50:
I’m happy with the learning process this week. I still have a long way to go, plus new “stuff” I’d like to have. If I learn to use the lens I have now, when I get that portrait lens someday, I might actually know how to use it!




Unfortunately I only have a point and shoot camera… so after the “flower” setting, I’m done 🙂
I enjoy seeing your creative and intellectual process though!
Thanks for your comments – I’m enjoying the process, too! Ginny Felch’s book is applicable to point-and-shoots, with lots of tips about how to use available light, etc. I’m trying to solve problems by using what I have, at least until I know how far to take this hobby.
Deb – Just found out about your site – love it. I always thought if there was one hobby I’d really like to learn it would be photography. Somehow, it always seemed too expensive. Maybe it’s less now that it is digital. Lovely pictures of your babes.
Reva, thanks for the comment! I don’t know how it compares to prior years. Once you were set up with a camera and editing software, it probably would be cheaper, because you wouldn’t be printing everything. The expense comes when I start thinking I need more “stuff!”