Suns and Roses (Or, The Auto ISO Setting)
Today I wanted to cover the latest super-secret beginner photography trick I’ve been using: Auto ISO in manual mode. But before I start rambling to myself about buttons and dials again, I want to reiterate (repeat? reinforce? relax… rejuvenate, reduce, reuse, recycle… sorry) that this is just my journal to keep myself going with learning something new.
Now for the rambling. 🙂
I’ve been choosing manual exposure more frequently now, and I LOVE it. Why did I ever hesitate to switch away from the green box “auto” mode? It’s fun learning how a picture looks if I try this aperture or that shutter speed.
One of my fears, though, was that I’d have to check the exposure meter before every single shot. I have kids who run around like crazies and who can’t be convinced to contain themselves within the same lighting conditions all the time. I didn’t want to lose a shot because the exposure was wrong.
Although I don’t have to change the settings as often as I feared, it’s nice that there is a way to shoot in “M” mode while letting the camera ensure a proper exposure… as long as the lighting isn’t very unusual.
This is done by setting the ISO to “Auto.”
On auto ISO, I choose two of the parts of the exposure triangle:
1) aperture, and
2) shutter speed.
The camera adjusts the other variable:
3) ISO.
The combination of the three, plus lighting conditions, results in the exposure level:
Aperture + shutter speed + ISO + lighting conditions = exposure
In the camera’s opinion, proper exposure is right in the middle, at zero.
Below is my rendering of an exposure meter (which can be seen through the viewfinder when framing the shot). Nice, eh?
To shoot in auto ISO on a Canon 60D: Set the big dial to “M.” Push the little black button marked “ISO” (located at the top of the camera toward the right). Rotate the vertical dial (just behind the shutter release button) to turn the ISO all the way down past 100 to “Auto.”
Sometimes auto ISO, with an exposure of zero, is a good thing. Sometimes not.
Last weekend the kids and I loaded up and drove to the little town where my husband covers for a rural doctor. The hotel there has a beautiful flower garden and a fountain. The kids think “Daddy” owns the fountain, and my younger daughter informed me that “Daddy planted the flowers.” It is definitely time to be done with this routine. Thankfully, I think that was the LAST weekend there before we move!
I love taking pictures of the water splashing in the fountain. Water and fire are mesmerizing.
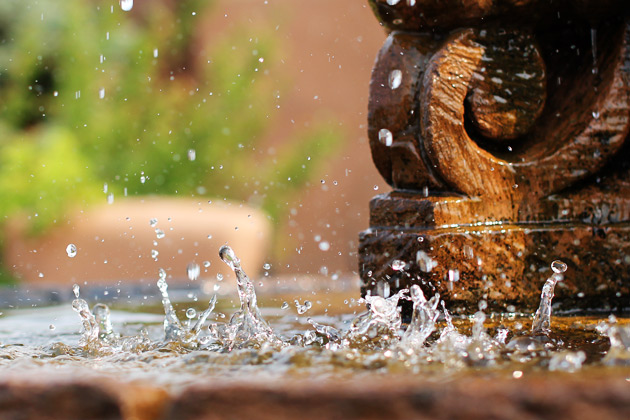
Aperture: f/2.8
Shutter speed: 1/800
ISO: 160
I wanted a relatively fast shutter speed to “freeze” the motion of the water droplets.
I left the ISO in auto, though. That way, if I wanted to change the shutter speed or aperture, or if the lighting conditions changed, the camera could choose an ISO that would make everything match up again, keeping the exposure at zero.
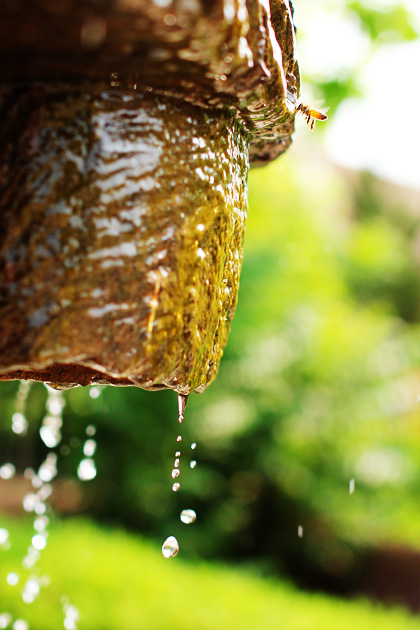
Aperture: f/2.8
Shutter speed: 1/800
ISO: 100
Auto ISO worked just fine for these shots, and I confess, I didn’t look much at the exposure meter.
I also took several pictures of flowers.
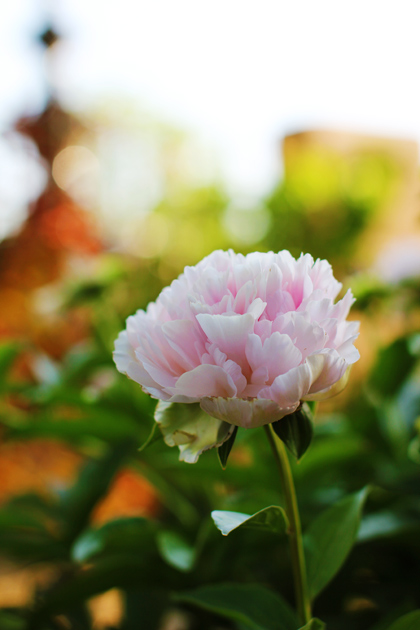
Aperture: f/2.8
Shutter speed: 1/400
ISO: 100
Most of the flowers turned out fine with the exposure arrow set to the middle. But not roses!
With the camera keeping the exposure at zero, this is how my rose shots turned out:
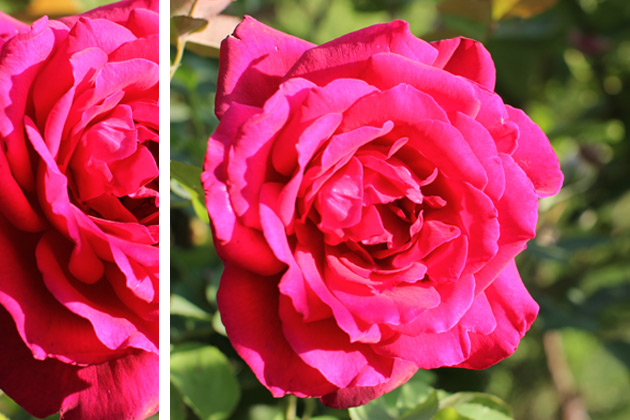
Aperture: f/5.0
Shutter speed: 1/120
ISO: 100
The tips of the petals were overexposed.
To compensate for this, I had to underexpose the shots.
I can’t create an underexposed shot as long as the camera is adjusting the ISO for me (except in certain undesirable situations). I need to adjust all three parts of the exposure triangle myself.
This is how I chose the settings:
1. ISO: I set the ISO at an outdoor, daylight setting of 100.
2. Aperture: I wanted most of the petals in focus. For a reasonable depth of focus on a close-up of a flower, I tried apertures of f/5.0 or f/5.6.
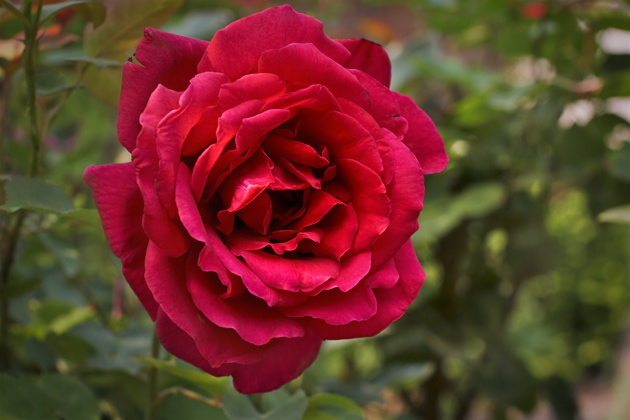
3. Shutter speed: I saved the shutter speed setting for last. In this case, I didn’t care much what the shutter speed was, as long is it wasn’t TOO slow. So I used shutter speed as the variable that would underexpose the picture. I adjusted it until the arrow on the exposure meter was almost to -2.
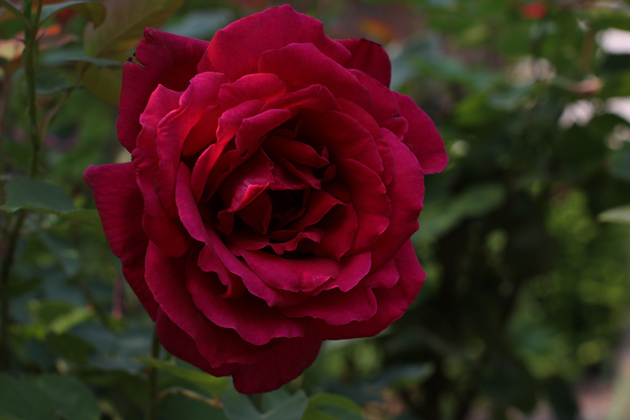
Aperture: f/5.6
Shutter speed: 1/250
ISO: 100
And here it is after I played around in Lightroom and Photoshop:
I can lighten a slightly underexposed shot, but there’s not much I can do with an overexposed one. (For example, in the very first rose picture above, where the petals are blown out, I can’t get any detail back by editing.)
Another rose shot I like well:
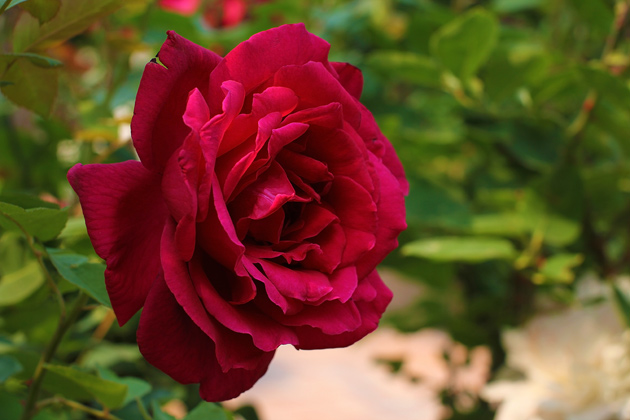
Aperture: f/5.6
Shutter speed: 1/250
ISO: 100
Other times where underexposure works well are sunrises and sunsets.
(Cue music, please.)
“SunRIIIISE…”
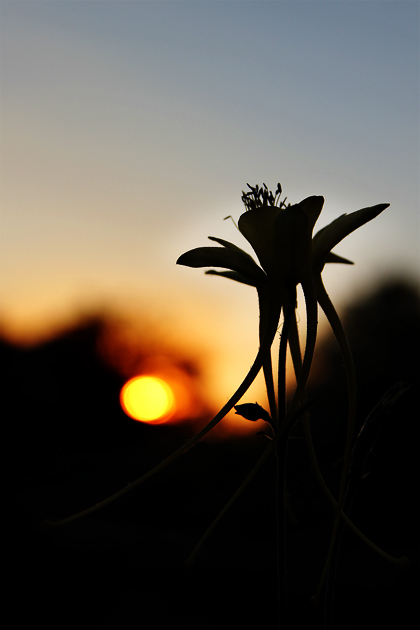
Aperture: f/5.0
Shutter speed: 1/500
ISO: 100
“… sunSET.”
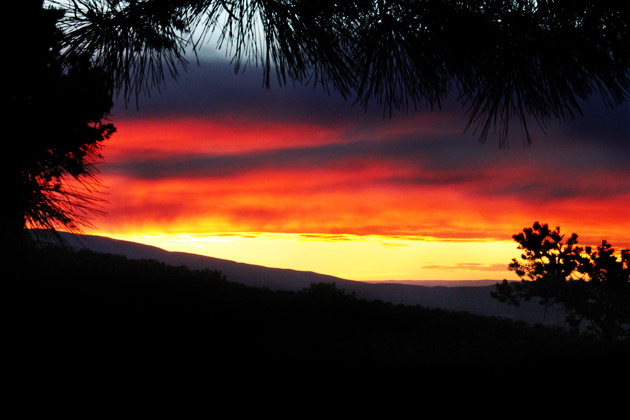
Aperture: f/18
Shutter speed: 1/80
ISO: 3200
“SunRIIIISE…”
“… sunSET.”
Ahem.
Most of the time, I’ve found auto ISO to be a great way to ease into learning manual exposure.
As I go, I see shots where the camera didn’t get it right, though (or where the crispness vs. graininess of the photo really matters). In those cases, I can always set the ISO myself, as long as I remember to pay attention to the exposure meter.
An ending note: In the beginning, remember to change the ISO back to “Auto” before turning off the camera! It’s easy to forget to check the ISO the next time you pick up the camera. Then, hypothetically, you can end up with shots that are grainy when they didn’t need to be. Hypothetically.
Thanks, as always, for reading through to the end of these posts. 🙂


I’m not going to lie, I need almost this entire post explained, but then again, this is the first time that I’ve ever even had a camera that had “options”. I’m learning… slllllooooowwwllllyyyyyyyyyy. However, I loved your pictures, especially the one of the bee.
Ok, I want lessons, too.